Gulp
Learn how to use the npm scripts included with Eduport to build, compile source code, and more.
Gulp is a toolkit for automating painful or time-consuming tasks in your development workflow, so you can stop messing around and build something great in no time. Please follow the below steps to install and setup all essential:
1. Install node
In order to use Gulp, you will need to download Node JS. If you don't have Node installed in your system, Please download the stable version of Node.js (LTS) NOT the latest.
Download Node JS2. Install Gulp.js Globally
After installing Node on your system you can proceed to Gulp installation. Simply run the command below in your terminal which will install Gulp globally.
npm install gulp-cli -g
Note: If you are using MacOS please use sudo keyword in the command because they need administrator rights to install Gulp globally. So full command will be sudo npm install gulp-cli -g

3. Install NPM modules
First, change the command line path into your project where Eduport folder is located.
Once the path of your command line is changed to Eduport folder, you may run package.json file by using the following command:
npm install

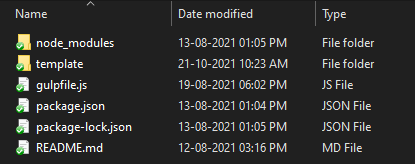
It might take a couple of minutes depends on your Internet connection. After successful completion of npm install command, you will be able to see node_modules folder that Gulp created (Please refer to attached screenshot for final folders your project will contain). Everything is now installed and ready to go!

4. Running Gulp
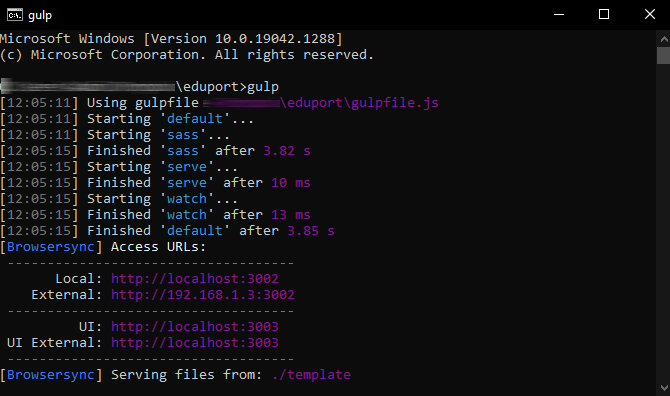
Now you're ready to start building new pages. All you have to do is run "gulp" in Terminal. This will track all the sass file changes and start a local webserver.
gulp

